Android Barcode Scanner: Scan-Engine Selection for Handhelds
Choose an Android barcode scanner by matching the label, working distance and lighting to the proposed scan engine. Use the comparison and sample checklist below to prepare your handheld configuration brief.
更新于
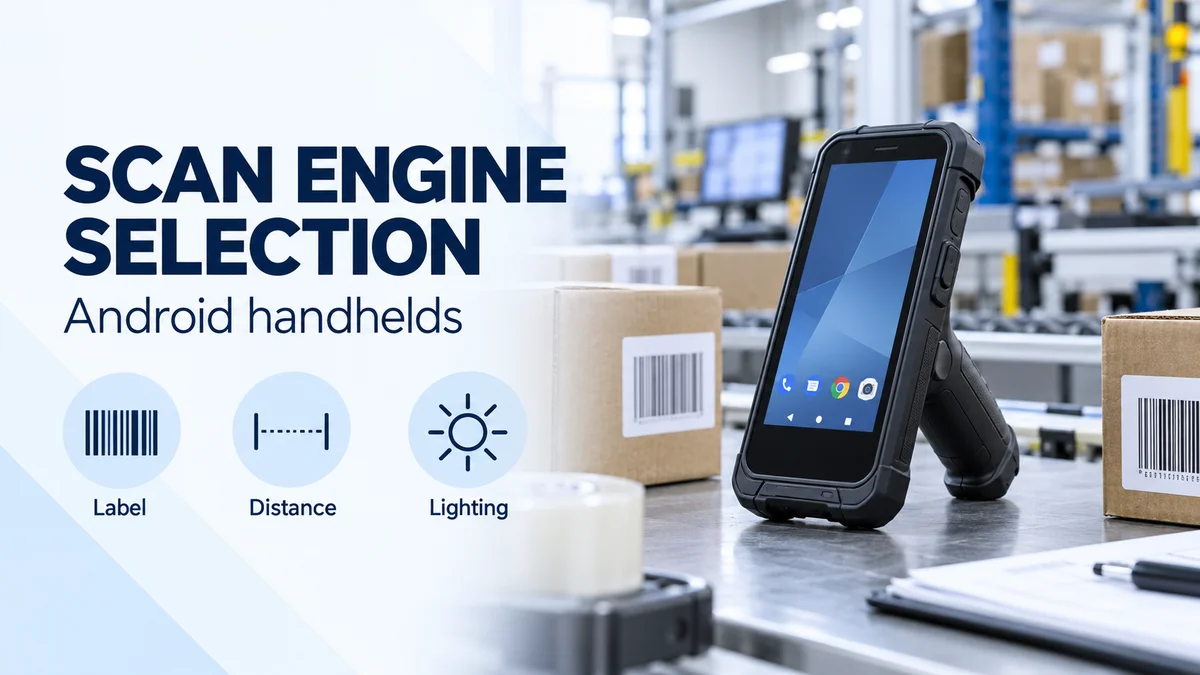
Start with the label and the working position
For an Android barcode scanner project, start by collecting actual labels and recording the closest and farthest working positions. Then compare the exact barcode row in each proposed scan-engine specification. Use this guide alongside the handheld mobile computer family when preparing a warehouse mobile computer brief.
| Input | What to record |
|---|---|
| Barcode | Record the symbology, module size and full barcode width. |
| Working distance | Measure the nearest and farthest intended scanning positions. |
| Surface and condition | Collect flat, wrapped, glossy and worn labels from the workflow. |
| Lighting | Record the packing-bench, aisle and loading-area conditions to reproduce. |
| Operator use | Specify the grip, trigger use and whether gloves are worn. |
What does label density mean for selection?
The X-dimension refers to the size of the individual modules in a 2D barcode. Making barcode modules too small can prevent reliable scanning. Ask for the printed module size as well as the overall label dimensions. Keep a physical sample with the requirement sheet; identify each label separately before comparing optical options.
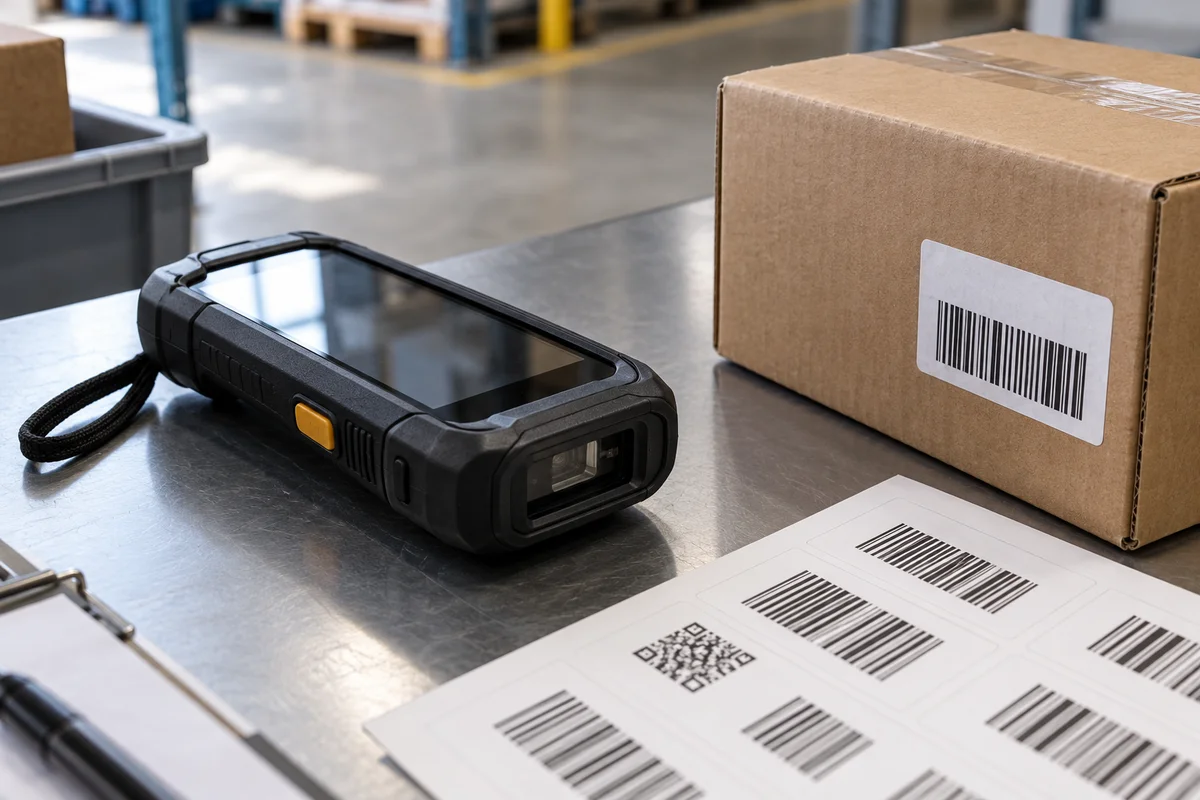
Compare near and far decode distances on the same barcode
Read both endpoints of the exact barcode row. Keep the engine identity attached to every value, and compare the required working positions with that row before preparing the sample trial. The following entries use manufacturer typical decode-distance figures for the same 10 mil DataMatrix row.
- SE55 typical decode ranges depend on printing resolution, contrast and ambient light.
- SE58 range is reduced under lower ambient light level.
- During selection, retain the printing and ambient-light conditions beside the range entry. During the sample trial, record the observed result separately.
| Engine specification | Near endpoint | Far endpoint |
|---|---|---|
| Zebra SE4720/SE4770 | SE4720/SE4770: typical near decode distance for DataMatrix: 10 mil is 5.3 cm. | SE4720/SE4770: typical far decode distance for DataMatrix: 10 mil is 27.8 cm. |
| Zebra SE55 | Typical near decode distance for 10 mil DataMatrix is 5.6 cm. | Typical far decode distance for 10 mil DataMatrix is 68.8 cm. |
| Zebra SE58 | SE58: typical near decode distance for 10 mil DataMatrix is 6.1 cm. | SE58: typical far decode distance for 10 mil DataMatrix is 1.58 m. |
How should a distant shelf label be evaluated?
SE58: typical far decode distance for 100 mil Code 39 (paper) is 32.64 m. SE58: typical far decode distance for 10 mil QR is 1.39 m. For SE58 rows marked with the barcode-width footnote, the indicated near distances depend on barcode width. Match the barcode type, printed size and material before using a distance figure in your selection brief. For the warehouse barcode scanning workflow, record the shelf label and close carton label as separate tasks.
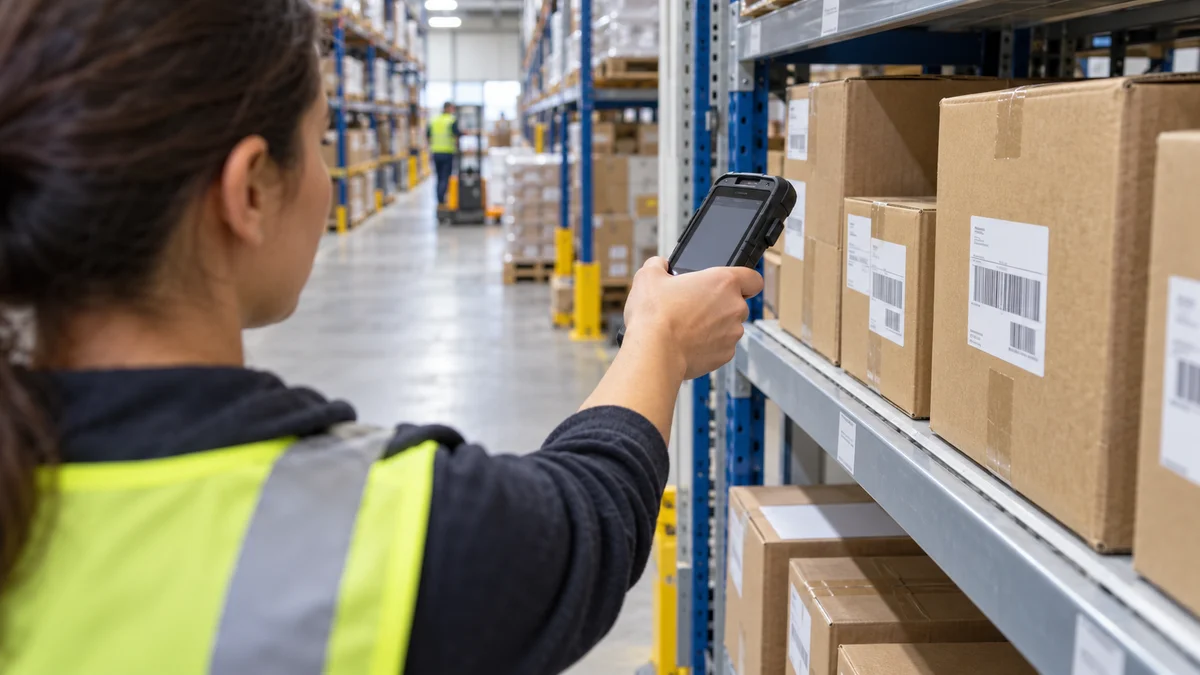
- Read the near-distance footnotes as well as the far-distance column.
- Request a sample check at the nearest operating position, then at the farthest required position.
- Retain the exact engine option and label identity with each observation.
Keep high-density, range and aiming options separate
N670X HD optics allow reading down to 2.5 mils on Code 39 1D barcodes. N670X HD optics allow reading down to 5 mils Data Matrix and QR barcodes. N670X SR optics read UPC codes up to 573 mm (22.5 in). Keep the selected optics variant in the configuration record; compare each requirement with its corresponding specification.
- The SE4720 offers LED aimers.
- The SE4770 offers laser aimers.
- The N6803FR uses a dual-lens architecture.
- Specify the aimer option and ask the operator to check its visibility under the planned lighting.
- For a combined close-and-distant workflow, request observations at both working positions on the same proposed configuration.
Check glossy, wrapped and damaged labels
Reflected light can prevent recognition of the barcode pattern despite high colour contrast. High-gloss materials and plastic overlap are examples of reflectance problems. Smearing, gouging, scraping or other damage negatively impacts barcode quality. Include these conditions in the physical sample set. Inspect the surface and photograph the label condition before recording the scan observation.
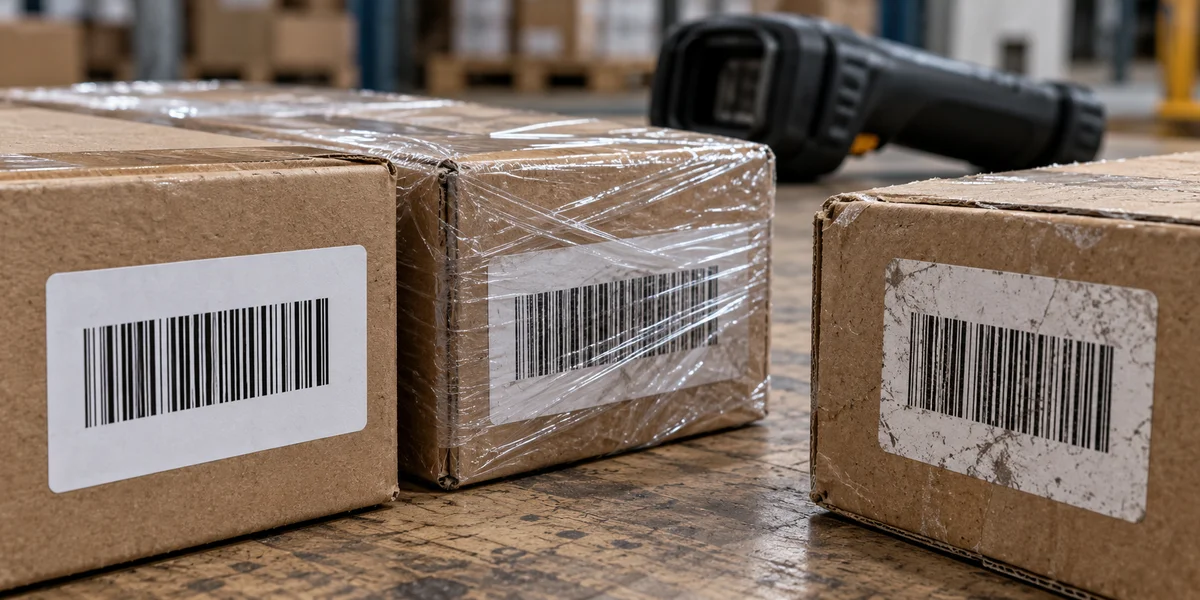
| Sample condition | Record during the trial |
|---|---|
| Clean reference label | Record label identity, position, lighting and decoded value. |
| Glossy or wrapped label | Photograph the reflection and film overlap; record the scanning position and result. |
| Worn or damaged label | Photograph the damage; record the decoded value or failed attempt. |
| Closest and farthest positions | Repeat the intended task at each position and retain each observation. |
Prepare the handheld sample request
Sample testing should use your label set, warehouse lighting and scan distance so the accepted device reflects the real workflow. Send the barcode symbologies, nearest and farthest scan distances, and whether operators wear gloves. Include the physical labels and selected engine option, then send your project brief.
- Agree the label set, required positions and lighting before beginning the trial.
- Record the proposed handheld configuration and optics option on the observation sheet.
- Agree what constitutes an accepted result for each task, then record pass or fail against that requirement.
- Continue with logistics scanner acceptance for the barcode-to-application checks.
Sources
- GS1 — 2D Barcodes at Retail Point-of-Sale Implementation Guideline
- Zebra — SE55 Advanced Range Engine specification sheet
- Zebra — SE58 Extended Range Scan Engine specification sheet
- Zebra — SE4720/SE4770 specification sheet
- Honeywell — N670X Series product page
- Honeywell — FlexRange N6803 Series datasheet
- Vantora — Handheld Mobile Computers